"DIVE INTO CREATIVE STORYTELLING"
Unleashing Imagination Through Visual Narratives
Shot multi-angle clips with a partner and edited the final video.
Captured select clips in collaboration with classmates and completed all editing independently.
Your Guide to Video Mastery
“How to Shoot and Edit a Video Using DaVinci Resolve”
1
Plan Your Video Every great video starts with a clear vision. What I plan before filming: • Purpose (promo, event, social media, etc.) • Shot list (what clips I need) • Location & lighting • Music or vibe (this helps guide the editing style)
2
Camera Settings & Filming Getting clean footage is everything.While filming: • Keep your camera steady (tripod or stabilizer if possible) • Use different angles (wide, medium, close-up) • Capture movement (panning, walking shots, etc.) • Shoot extra B-roll (details, surroundings, reactions)
3
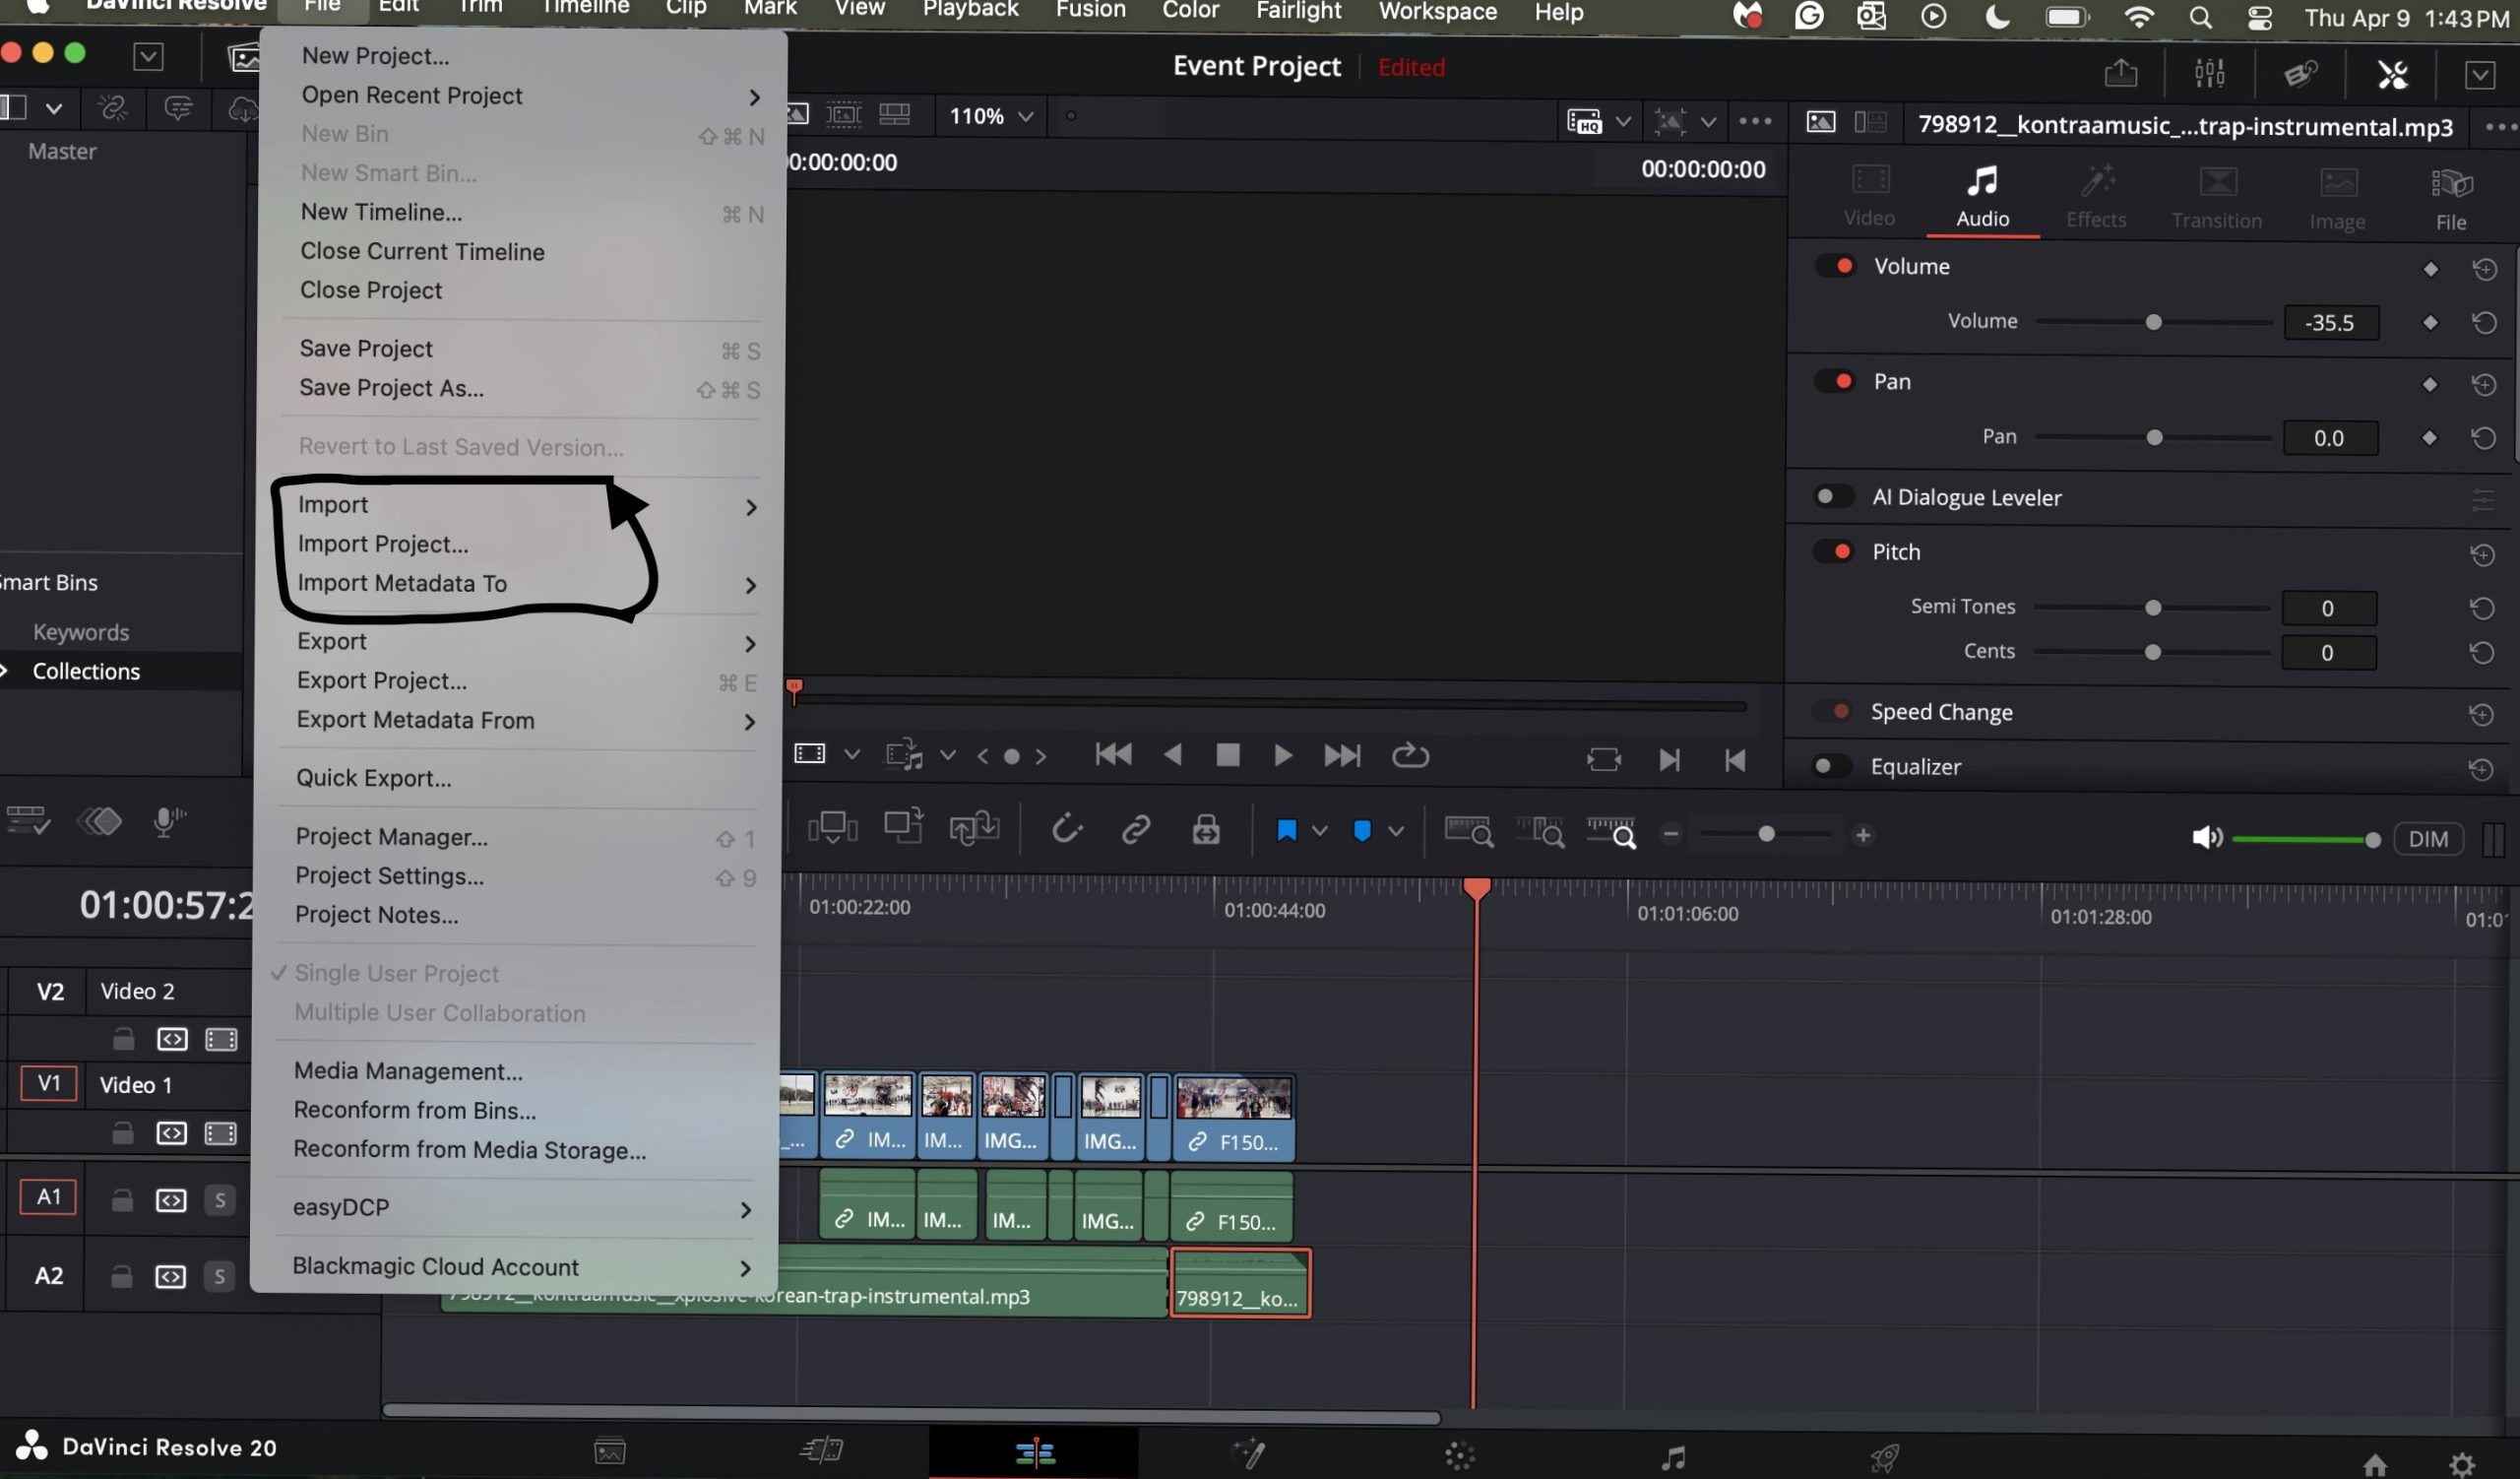
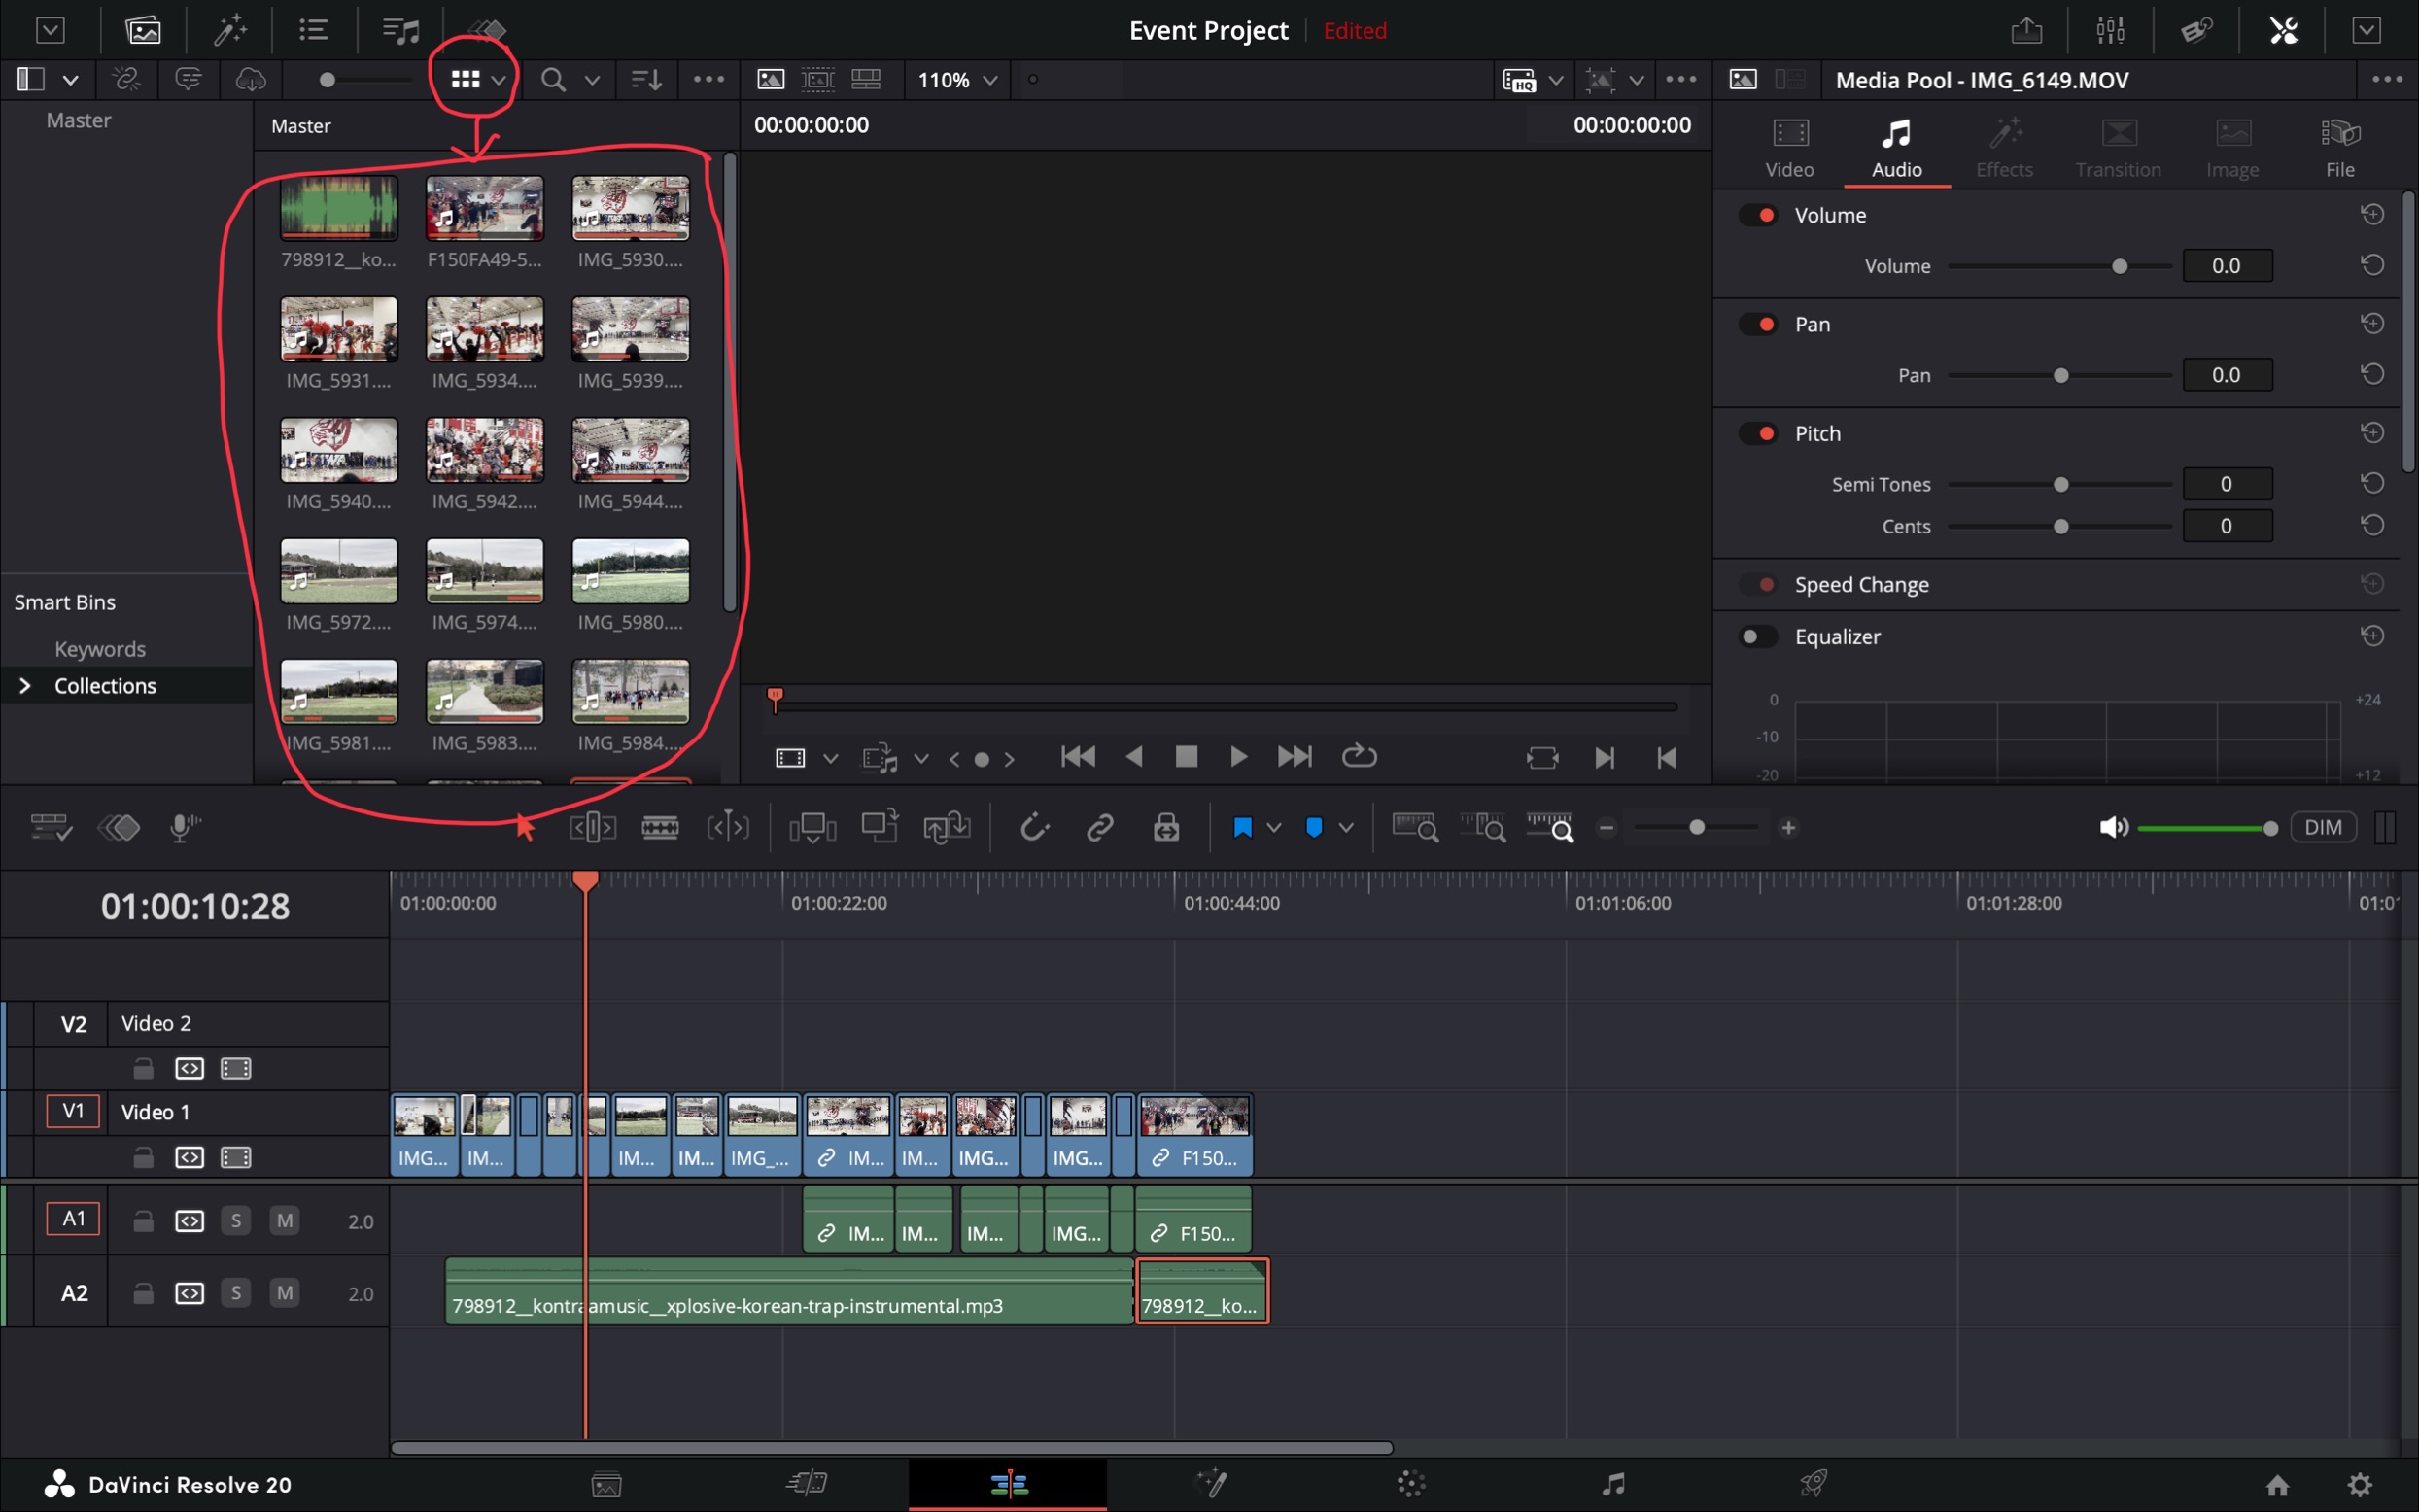
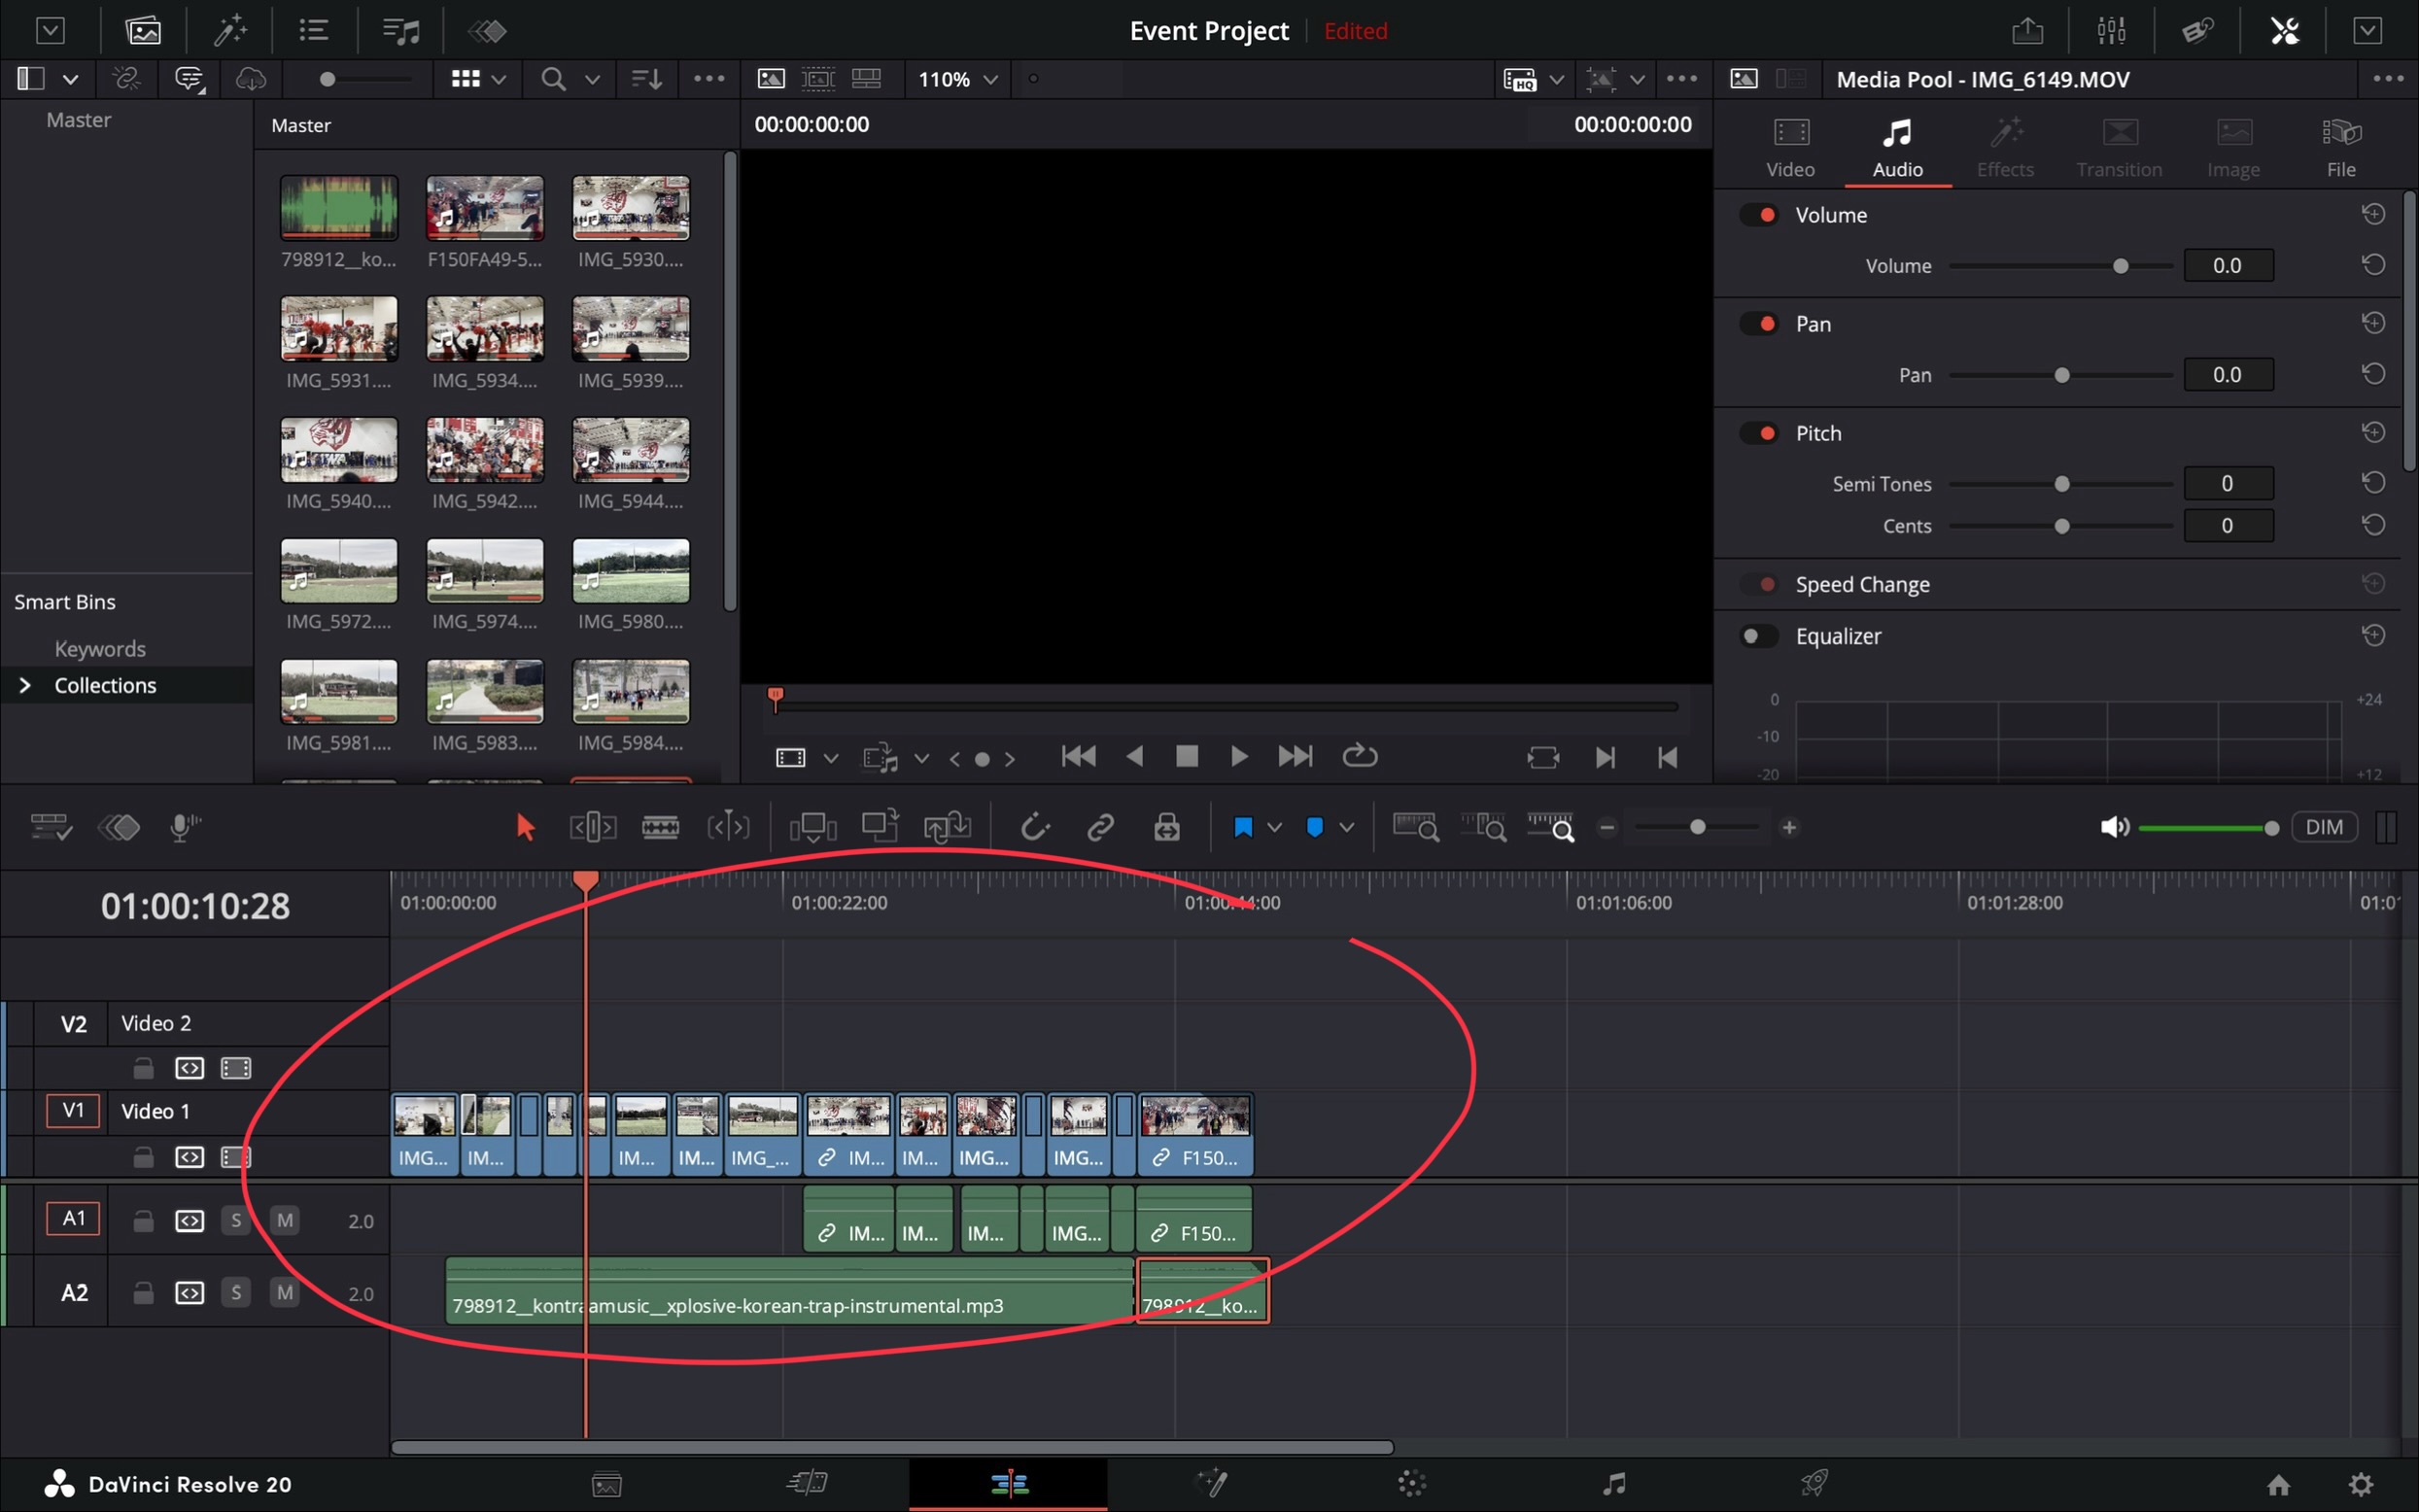
Import and Organize Footage in DaVinci Resolve After filming, the first step is to bring all your footage into DaVinci Resolve and get it organized so editing is easier. Open DaVinci Resolve Create a new project Go to the Media tab Drag and drop all your video clips into the Media Pool Once everything is imported: Organize clips into folders (main footage, B-roll, audio) Watch all your footage carefully Select the best clips to use Start forming a rough idea of your video’s story
4
Create a Rough Cut and Refine in DaVinci Resolve This is where your video starts coming together by arranging and cleaning up your clips. Place your clips in order on the timeline Focus on building a smooth, clear story To refine your video: Use the Blade Tool (B) to cut clips Remove mistakes or unwanted sections Trim clips to keep only the best parts Add smooth transitions (cross dissolve, fade) between clips

5
Edit Audio and Add Music in DaVinci Resolve This step improves your sound quality and adds music to match the mood of your video. Switch to the Fairlight tab Adjust volume levels so audio is clear and balanced Remove background noise Add music or sound effects To enhance your video with music: Choose a song that matches the mood Cut clips to match the beat of the music Adjust timing so transitions feel smooth and natural
6
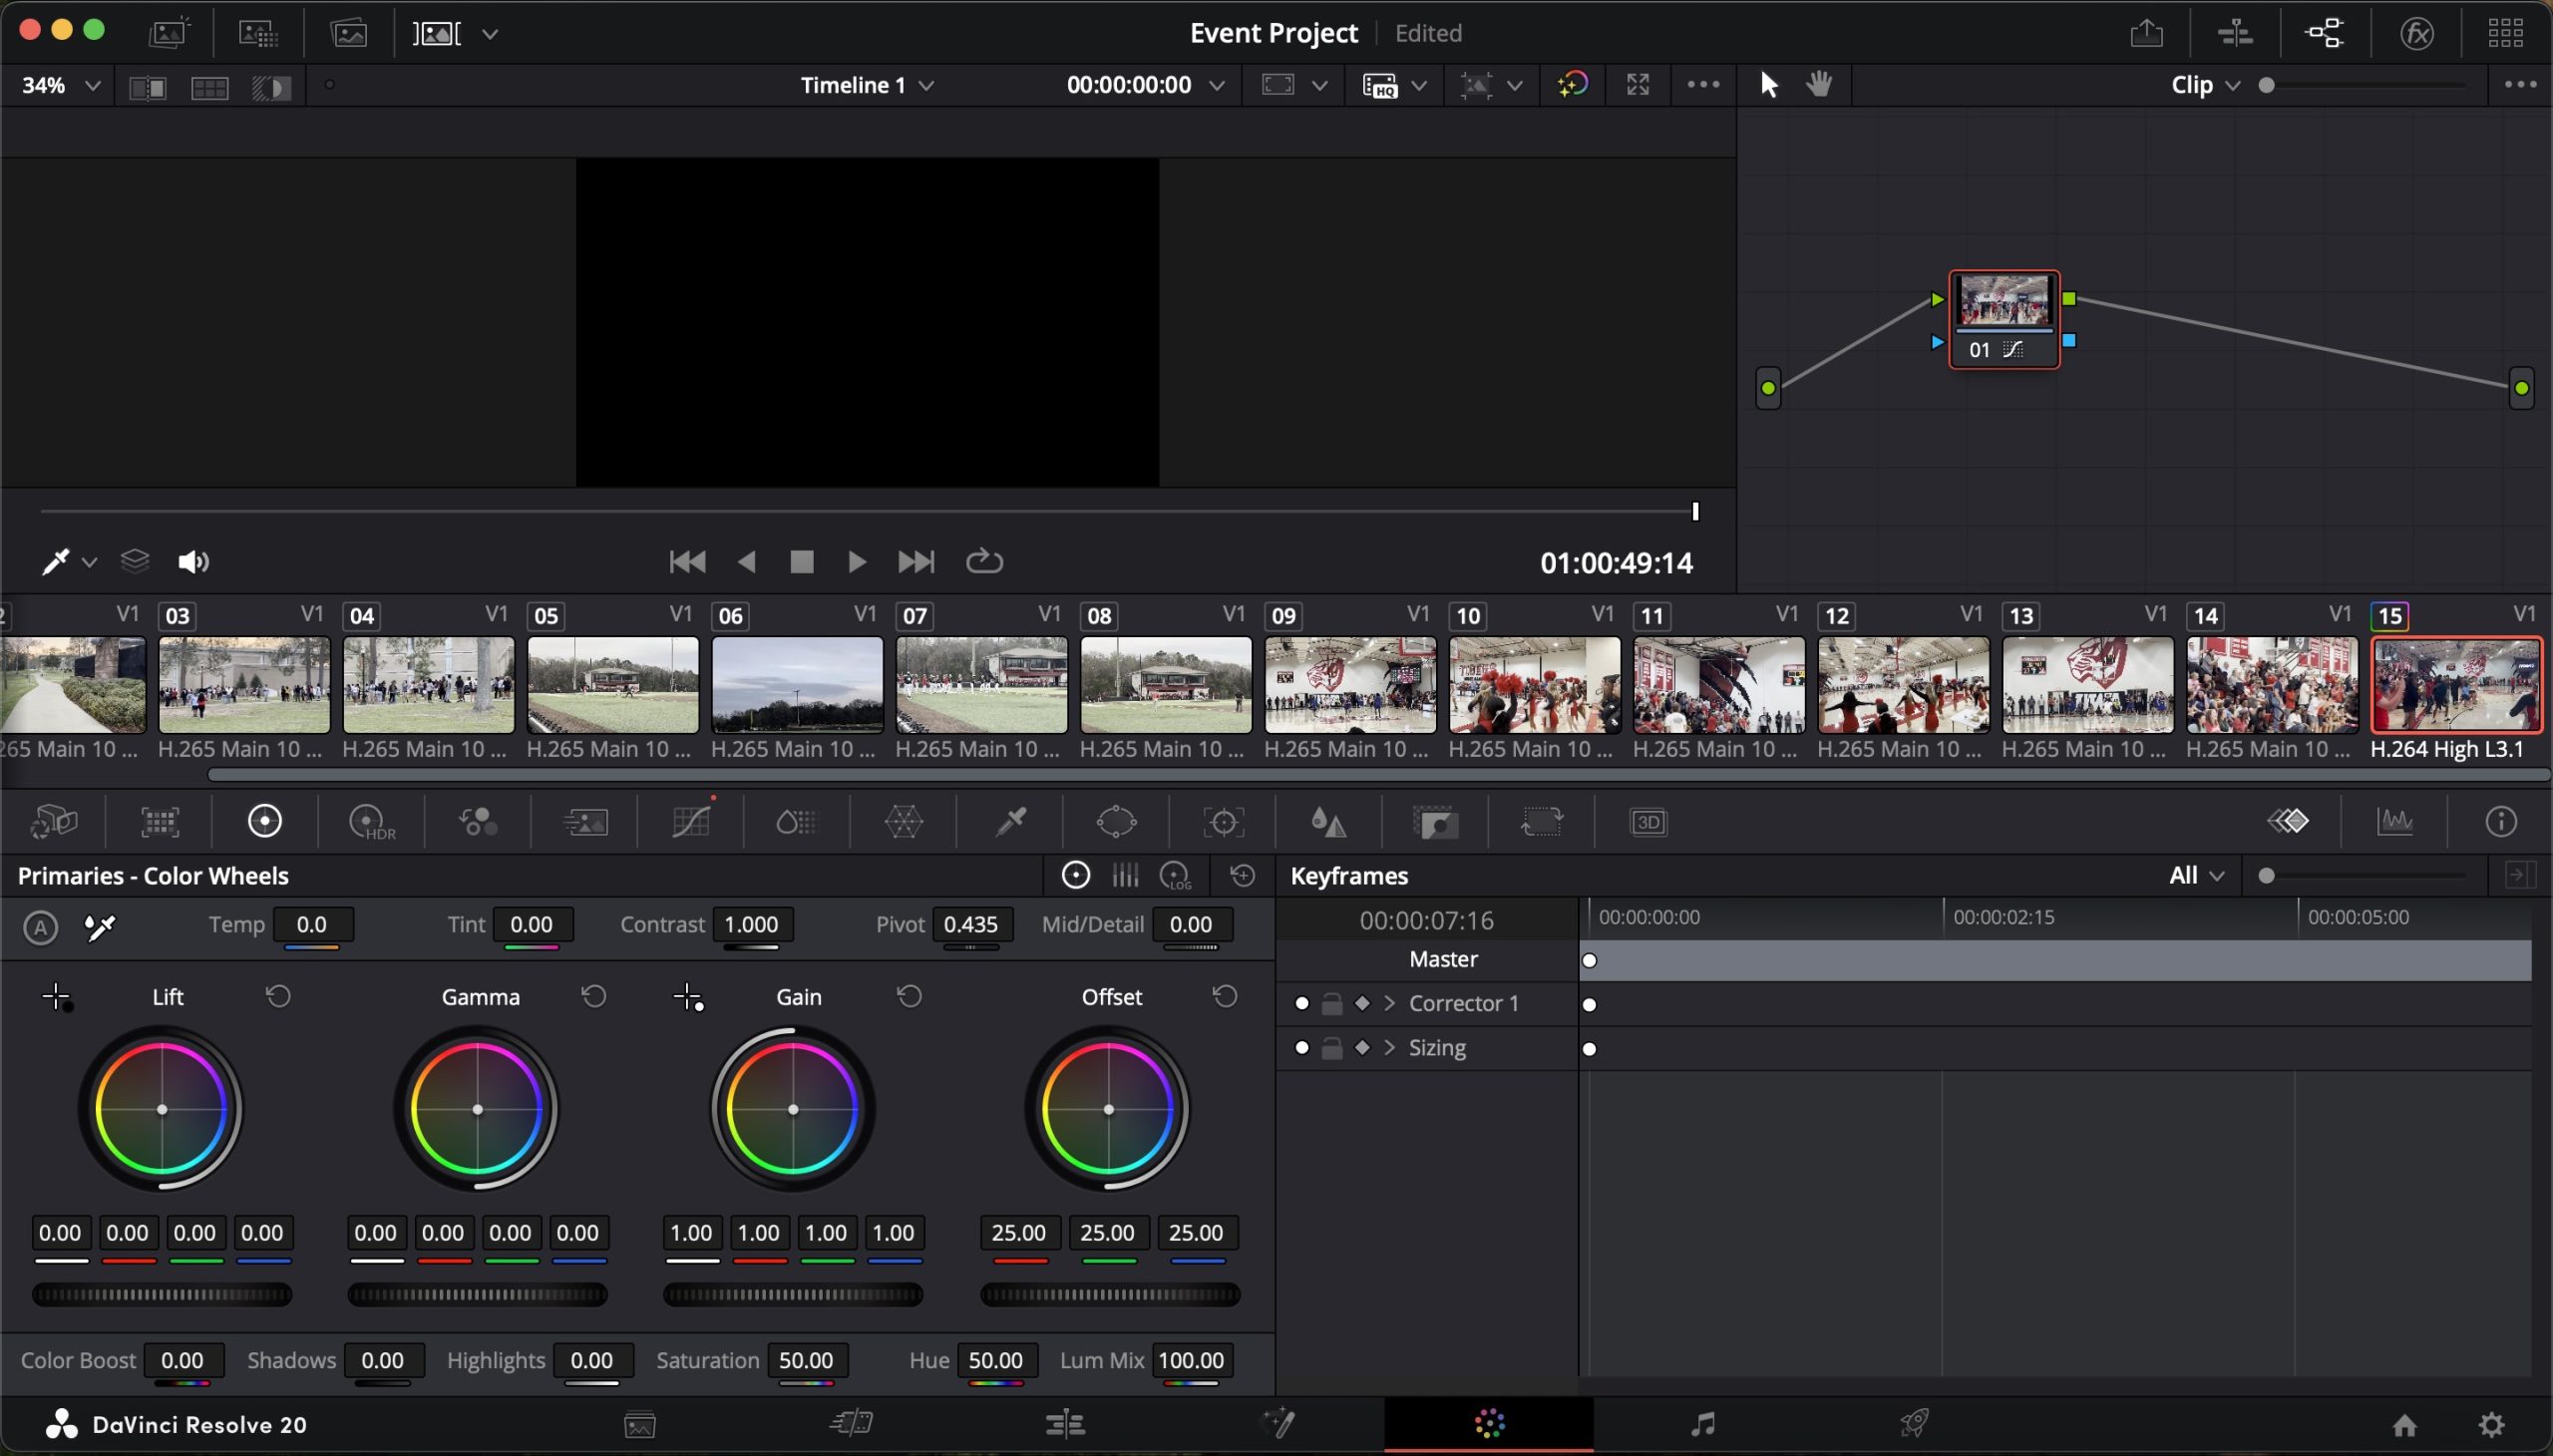
Color Correction and Grading in DaVinci Resolve This step gives your footage a clean and cinematic look. Go to the Color tab Adjust exposure and white balance Fix colors so they look natural To enhance the style: Adjust contrast and saturation Add a color grade (warm, cool, moody, etc.) Use nodes for more advanced grading
7
Add Effects and Final Touches in DaVinci Resolve This step is where you polish your video and add finishing details. Go to the Effects Library Add text titles, motion effects, or overlays Final adjustments: Add smooth transitions Use speed ramps for effect Make final audio adjustments for clear, balanced sound 💡 Keep it clean—don’t overdo effects.
8
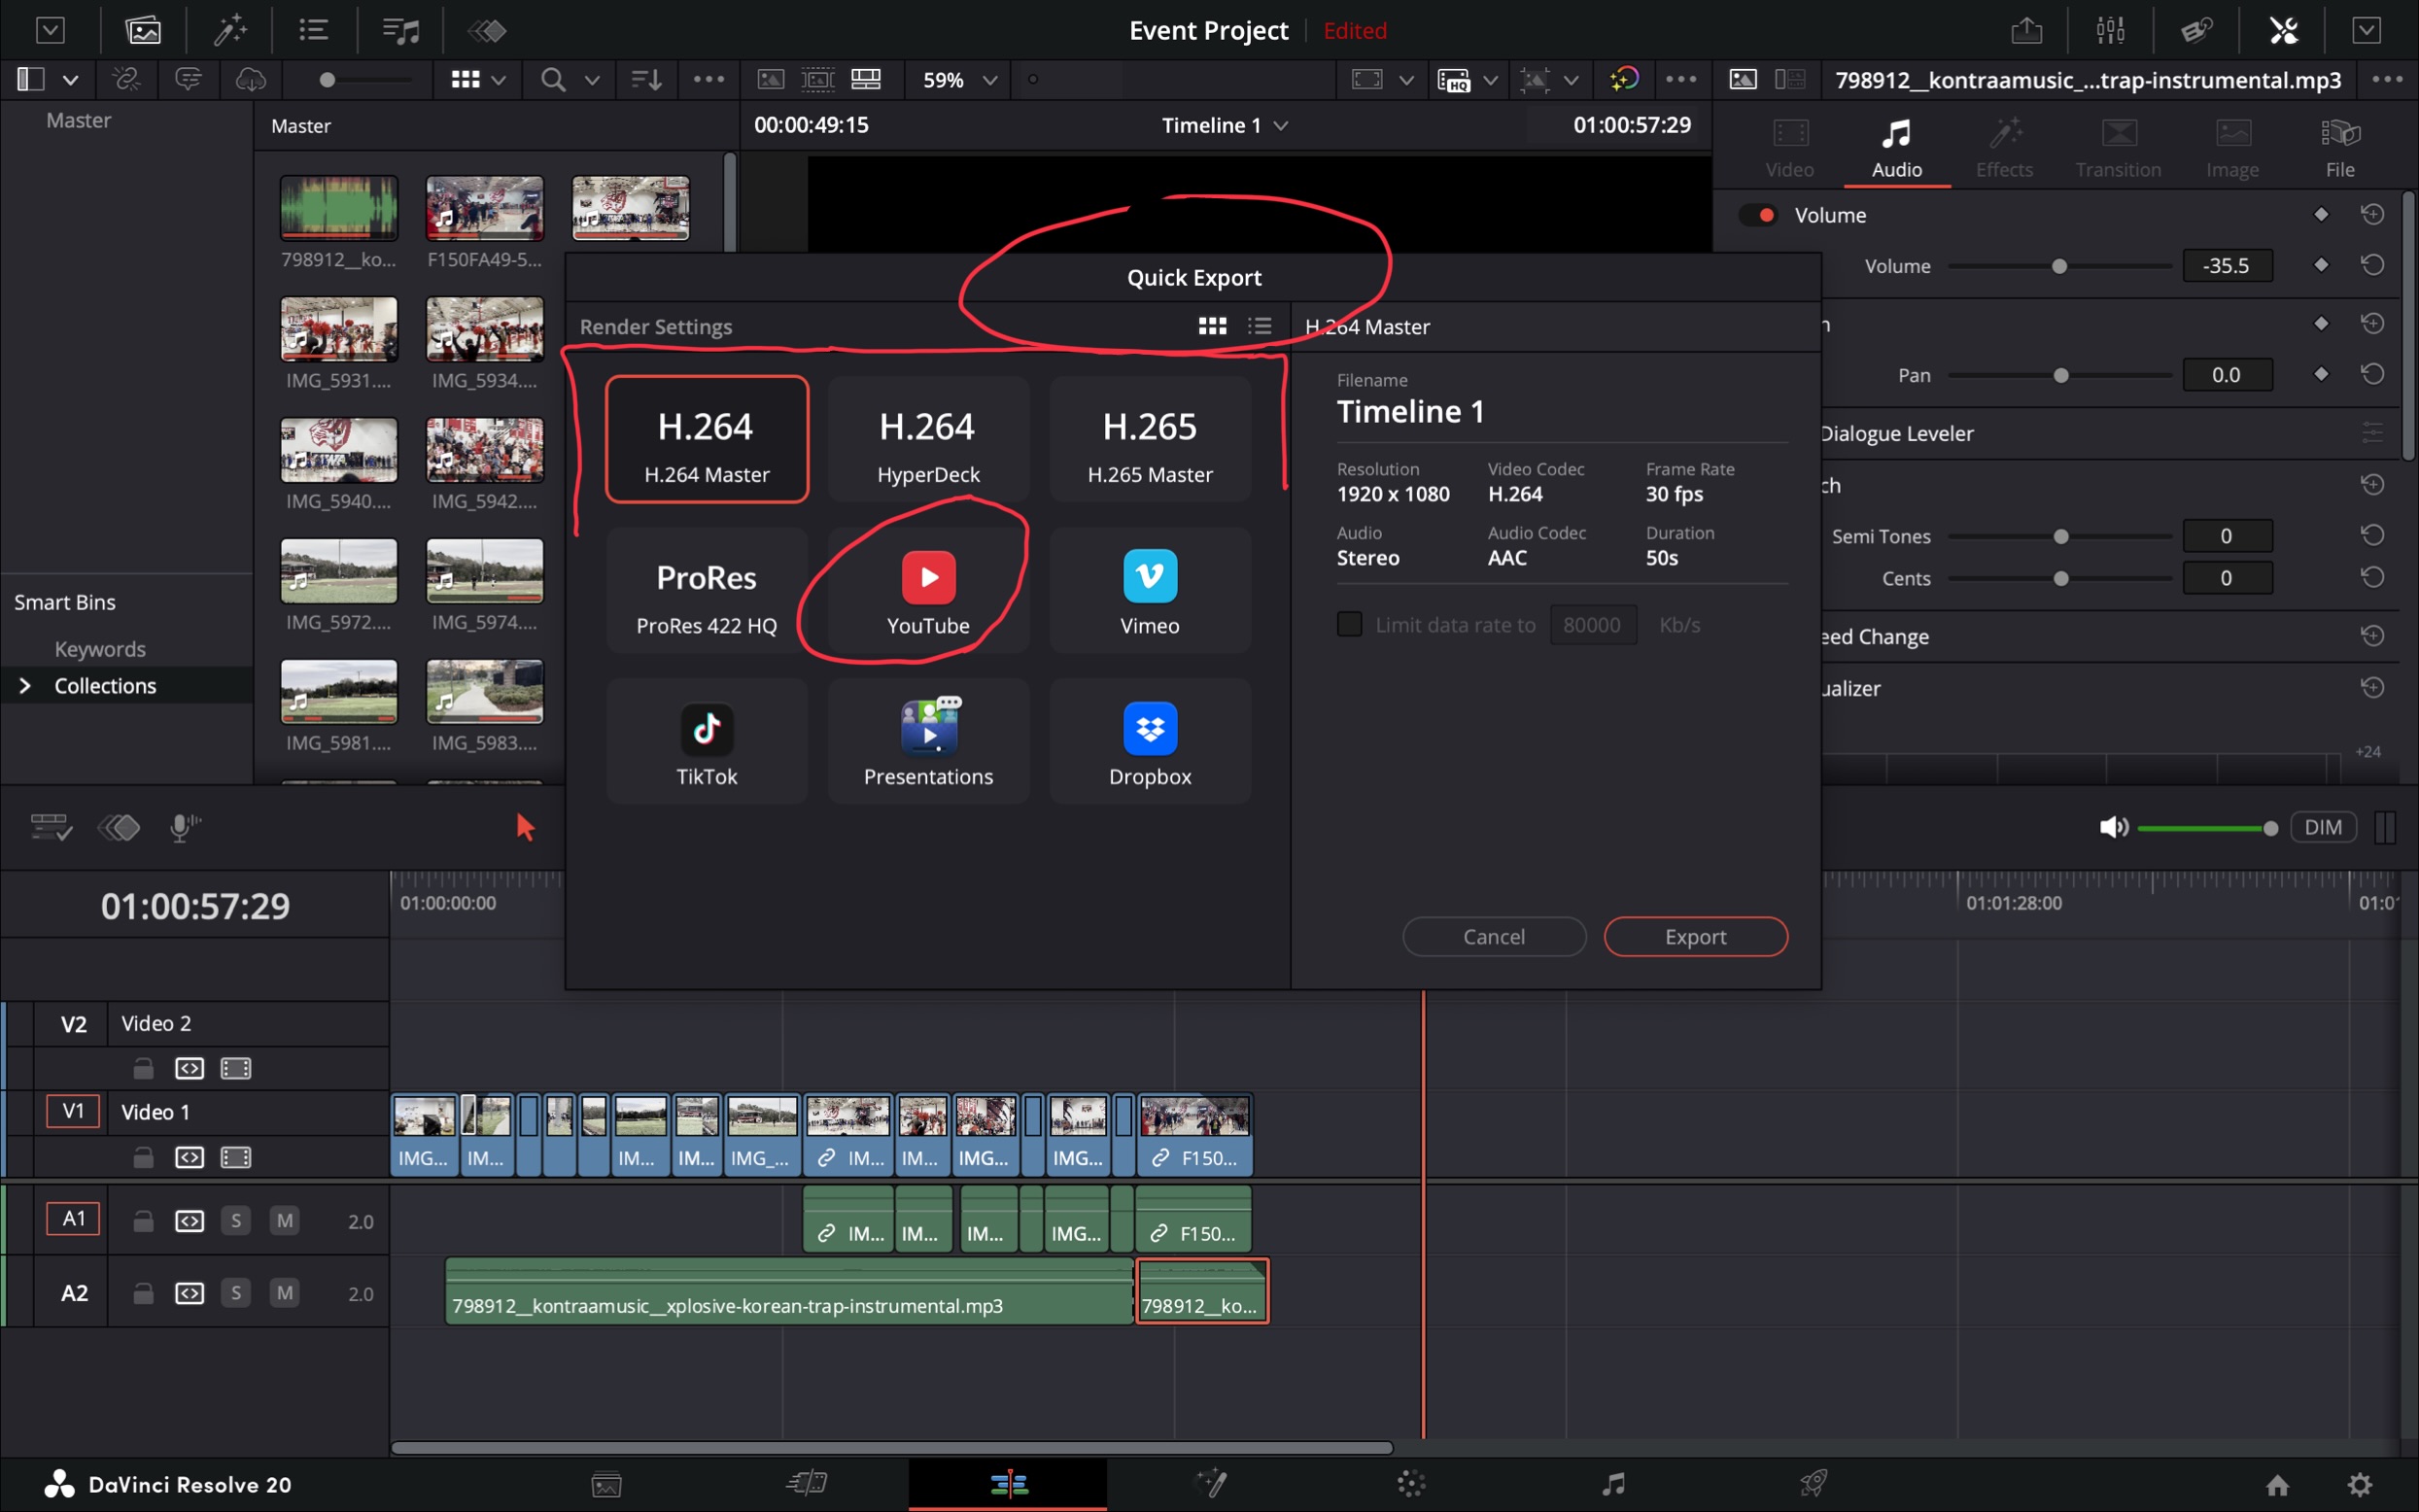
Export Your Video • Go to the Deliver Tab • Choose format (MP4 recommended) • Set resolution (1080p or 4K) • Click Render